Hi all,
I hope you all have had a wonderful year. There were a few set backs but all in all the year has been more than great. Ben and I are really settling into our lives here in Eugene and are so lucky to be meeting some wonderful people and making new friends along the way. Let's not forget our old friends that we are coming back together with and loving them even more. We have had some additions to our Eugene extended family this year and have just loved every minute of living here. We have kept busy both in our work and home lives and can't wait to share it with everyone. My goal is to start posting each week and I really hope I can follow through with it this year.
Hope all is well and I am Thankful for everyone past, present and future who will shape our lives in any way.
Happy Thanksgiving to you all
Adam
Thursday, November 24, 2016

Saturday, January 23, 2016
It's a Patchwork City, Group 1
I bought Patchwork City: 75 Innovative Blocks for the Modern Quilter by Elizabeth Hartman a while ago and I have finally come around to getting started on it. Craftsy was having a sale on a mystery fat quarter bundle from Freespirit Fabric, so I bought that and I have started. I am also getting started on a small wall quilt for the office using Robert Kaufman's Color Union, so I decided I would use some of these prints as accent pieces in all of the blocks. I am planning on making all 75 of the blocks in the book, so this will not be a quick project.
Here are my first three completed blocks: Post Office Box, Intersection and Kiosk


I think all of the colors are looking good and the Color Union prints really pop. I also fussy cut the ship in the kiosk block. I had a few issues putting together the intersection block. The book came with templates and two ways to get them. There were paper templates in the book that could be traced but there is also an option to download a PDF that can be printed right on freezer paper. I elected the second choice. I printed the template out, cut it with my old rotary blade and ironed it onto my fabric. The directions say to cut out the pieces adding a 1/4 inch seam allowance on all sides, so that is what I did. When i was done piecing the hourglass part of the Intersection block, the directions said it should measure 4.5 inches and came in at 4.25. I checked my seams and everything looked good but I decided to make another just in case. The second time I was very careful to make sure all of my cutting was correct, I took extra time lining up my corners and everything. I pieced it all together, took it to the iron and measured it again......4.25 square again. I am guessing there is a printing error or there is something special that needs to be done when adding seam allowance to a triangle. I decided to just go with it and put the rest of the block together. I started asking around and it turns out that I am not the first person to have some of these issues. I decided I'm going to stick with it because I already bought the fabric and I can hide some of the differences with the final quilt layout. I'm still looking forward to completing this quilt and I will keep you all updated on the progress.
The next three blocks will be: Porch, Meow, and City Hall...
-Adam-
Sunday, January 17, 2016
New Year, New Projects
Hey All,
 Hope you had a wonderful holiday and a very Happy New Year. We were so busy in December. We had a Holiday Party, made tamales, we traveled down to Sacramento for Christmas, I made three dresses for gifts and we still had to get our work done. Life is still going strong and we are looking forward to where this New Year will take us.
 Some pictures from our trip down South (after the snow), Duchess and Pixley chilling on the couch.


Ben's friend Shannon at work came over and we made tamales. It was my first time making them by myself. I was nervous but everything came out delicious. I made everything from scratch and my grandma was definitely watching over me. We had such a good time during the process, so I'm sure it will become a tradition in our home. Cheese for Ben and I and pork for Shannon.


Here are a few pictures of the dresses that went out for Christmas. They are both patterns from Figgy's. Her construction makes everything look so polished and professional. The red dress is her Scirocco pattern. We have made this pattern a few times and continue to love it.
The twin dresses are the Sunki dress. They were made for two cousins that are best friends. I used some Tula Pink fabric and think they are so fun with all of the color and the cute butterflies. You can't really tell from the picture, but the center of the front is an hourglass shape with cutouts on the side. In some of the versions that I have made, these were contrast fabric but I wanted to see how good I was at lining thing up and after I finished these, I gave myself a huge pat on the back.

There is still so much to share but I will leave it at this for now. Wishing everyone a wonderful year. Best wishes to you all.
Adam & Ben
One last picture of my deer friends who visit every week or two.

Thursday, December 17, 2015
Every Tree Needs A Skirt
HAPPY HOLIDAYS EVERYONE


I put all my faith into her and I was knocked off my feet with her talent. The quilting really brought out the different sections of the quilt and I love what she did with every section. I can't say enough good things about her and I think I hugged her 5 times when I saw what she did.


We hope you all have a wonderful holiday!!!

Friday, November 27, 2015
At It Again

We had some family up for our first Thanksgiving, so I snapped a few shots of the table and the food.


Ben and I went vegetarian about a year and a half ago, so this year I made an UnTurkey. It came out delicious. I know it sounds a little weird but it really was so good.

We had such a great day spending time with our family in our new home. We didn't even make a dent in the food though, so I guess we will be eating leftovers for the next three weeks.
On a side note, Ben picked up some new fabric and we have decided to start the Sampler Block Shuffle. We are 12 blocks behind, so we have to get sewing. We will keep you updated.
Till next time....
Wednesday, March 18, 2015
OUR NEW ROOTS
It has been over a year since there have been any updates and I think it's time to start this blog up again. What can I say, Life got in the way. In the past year we completed a bunch of projects, purchased another sewing machine and made a move from California to Oregon. We have met lots of new quilters and sewers to inspire us and now we just closed on a new home. Considering the move, I thought this would be a good way to keep our families and friends up to speed with what is going on in our lives. Over the next few weeks I will try to post to get everyone up to speed on what we've done over the past year, and our lives we are starting here in Oregon.

Here are some before pictures of our new home. We have some painting and some updating to do but this is what it looked like on closing day. I cant wait to see if after all our furniture is in and our updates are done.

 The dining and living rooms. We have already started taking the yellow wallpaper off the walls to realize there are two more layers under it. Removing this is the plan for the coming weekend.

These are pictures of the main living areas, Kitchen, Kitchen Nook and Family Room. I can't wait to see what these rooms will look like after some color on the walls and our furniture in them. We did find a round cherry table for the nook. it will be different not eating dinner on the couch.


 The staircase that leads to the second floor. Up here we have a bathroom, bedroom and bathroom for visitors, the master bedroom and most important, the sewing room.
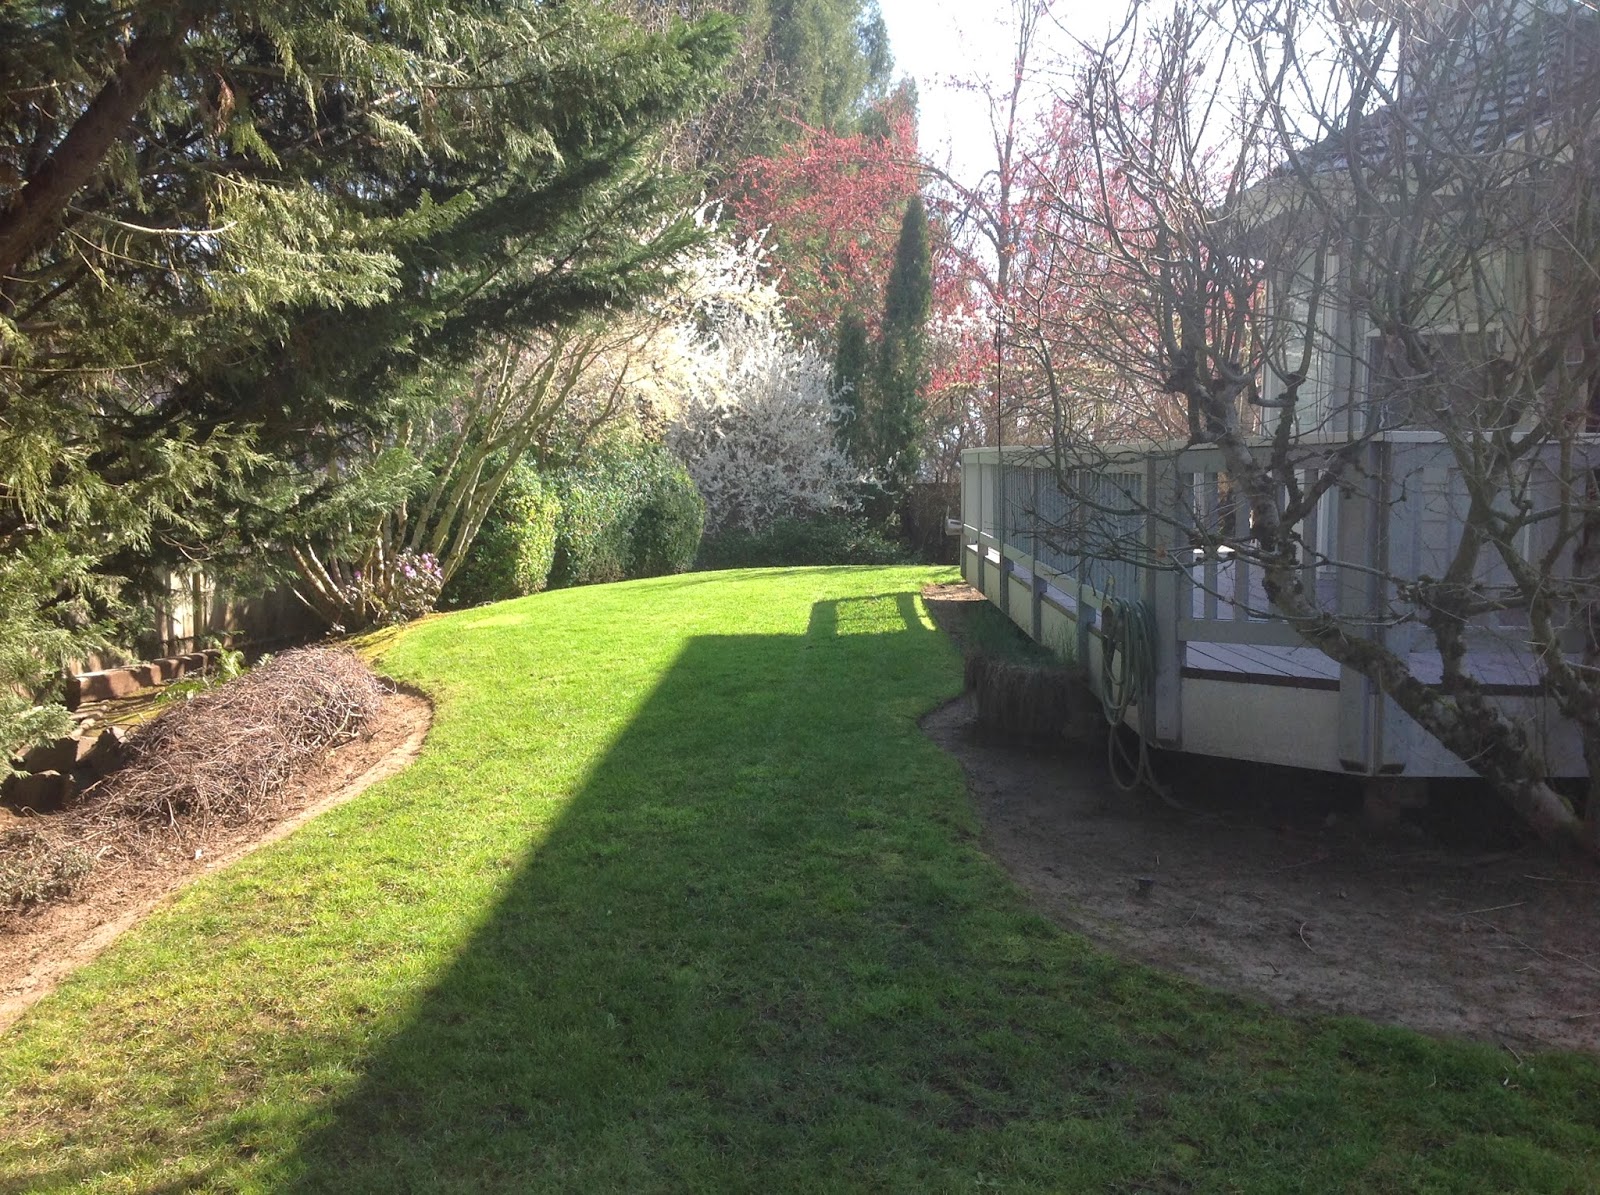
Outside we have a wraparound deck, we have to have it rebuilt because it is old but we are excited to see the finished product with the new materials we decide to use.

Here are some before pictures of our new home. We have some painting and some updating to do but this is what it looked like on closing day. I cant wait to see if after all our furniture is in and our updates are done.
The dining and living rooms. We have already started taking the yellow wallpaper off the walls to realize there are two more layers under it. Removing this is the plan for the coming weekend.
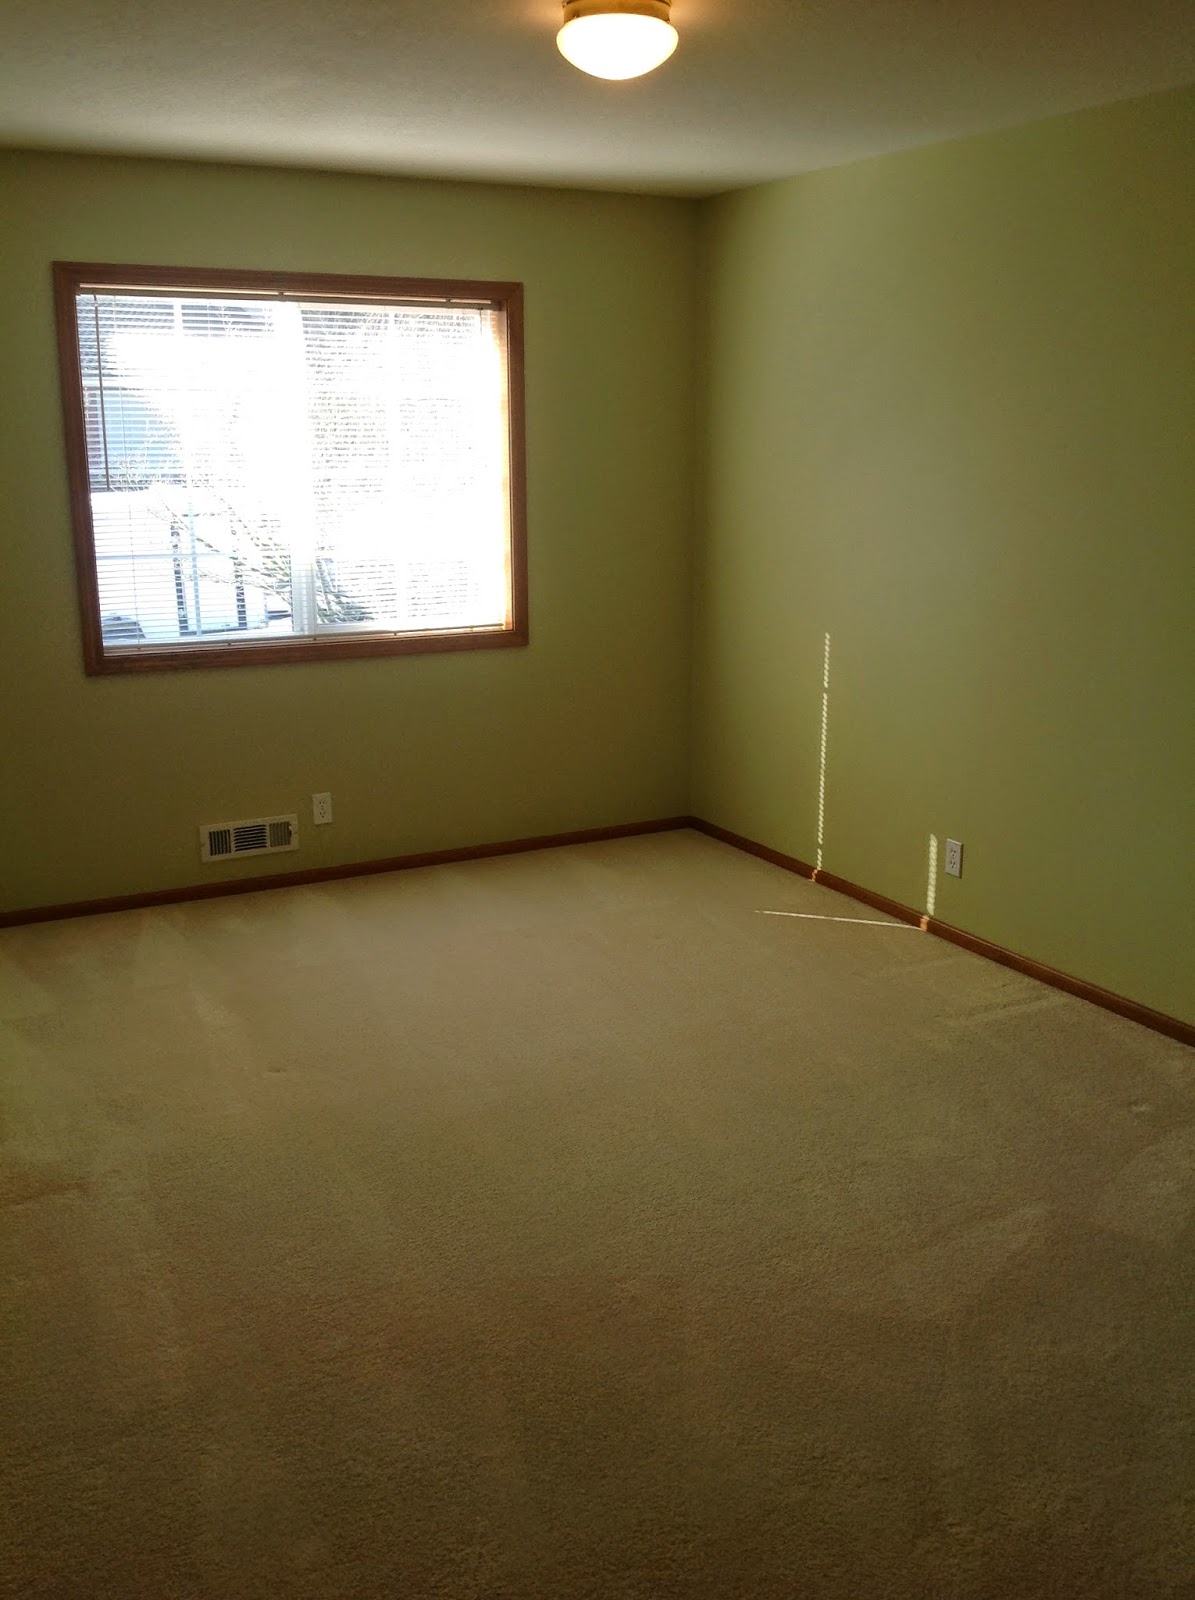
This room will become my office.
These are pictures of the main living areas, Kitchen, Kitchen Nook and Family Room. I can't wait to see what these rooms will look like after some color on the walls and our furniture in them. We did find a round cherry table for the nook. it will be different not eating dinner on the couch.
The staircase that leads to the second floor. Up here we have a bathroom, bedroom and bathroom for visitors, the master bedroom and most important, the sewing room.Outside we have a wraparound deck, we have to have it rebuilt because it is old but we are excited to see the finished product with the new materials we decide to use.
Saturday, December 14, 2013
Run, Run, Runner
Mom, this one's for you.
Last month, my mom saw a runner that I had completed. She loved it so much and from what she has told me, has been talking about it since. Every chance she gets, she asked me if I put pictures of it up on the blog yet because she told her friends to check it out.
The runner that I made was from the Zig Zag Charm Pack Table Runner tutorial, from Missouri Star Quilts. It is quick to make, not very difficult to do and is good practice at lining up corners. All it takes is a charm pack, some batting and a piece for backing fabric.
The two charm packs that I chose to work with are Winter's Lane by Moda, and Ho Ho Ho Let It Snow by Nancy Halvorsen. I finished the Winter's Lane runner first but didn't take any pictures of the process, so when I was making the second, I was sure to take some pictures of the steps.

 Here are some pictures of the Winter's Lane runner. This is the original one that my mom saw when she came over to my house. It utilizes all 42 pieces of a charm pack. I made this one a bit after we bought our new machine and I wanted to try out some embroidery on it too. The back has three snowflake designs embroidered on each side. It was a pain to get these just right because I had to measure out seams and draw a grid out that matched the front panel. In the end, the runner looks great and I am very proud of it.


 The next one I made was from the Ho Ho Ho Let it Snow charm pack. I took pictures to run you all through the process with me. The first step was to lay all of the squares out in a pattern that I liked. I group all of the squares by color and just started laying them down. Once they are all in their spot the sewing can start. The next step was to sew the squares together until you have 10 strips (2 strips of 2, 2 strips of 4, and 6 strips
of 5).
The strips then get sewn together. It seems like it would be tricky sewing these offset strips together, but this pattern makes it really easy. You just continue to sew into the single square and the stitches will be covered in a later step. I continued to sew all the strips together until the top of the runner was pieced and complete.

From here on I forgot to take pictures (I know I'm a terrible person). After the top was completed, I needed to make my quilt sandwich. In this case it is made a little differently because of the absence of a binding. For this project the quilt sandwich is layerd (from bottom up) batting, backing facing up, top facing down. I pinned the layers together and took my sandwich to the sewing machine. I ran a stitch around the outside of the topper using a 1/4 inch seam allowance. I pivitoed in the corners so it was one continuous seam. I also left about 2 inches open on one end, so I could turn the project out after some trimming of extra fabric. I had to go in and snip off the tips of the corners, right up to the stitch line. I also docked the inside corners. This step needs to be done so the ending project will lay flat. Next, you turn it out. I used a chopstick to push out my corners and pressed the entire project. I then needed to run a 1/4 inch top stitch around the whole project. This not only made a nice stitch to look at but it also stitched up the opening. Now it was ready to quilt. I decided for this runner, I was just going to stitch in the ditch. I did my quilting and the project was finished.


Last month, my mom saw a runner that I had completed. She loved it so much and from what she has told me, has been talking about it since. Every chance she gets, she asked me if I put pictures of it up on the blog yet because she told her friends to check it out.
The runner that I made was from the Zig Zag Charm Pack Table Runner tutorial, from Missouri Star Quilts. It is quick to make, not very difficult to do and is good practice at lining up corners. All it takes is a charm pack, some batting and a piece for backing fabric.
The two charm packs that I chose to work with are Winter's Lane by Moda, and Ho Ho Ho Let It Snow by Nancy Halvorsen. I finished the Winter's Lane runner first but didn't take any pictures of the process, so when I was making the second, I was sure to take some pictures of the steps.

 Here are some pictures of the Winter's Lane runner. This is the original one that my mom saw when she came over to my house. It utilizes all 42 pieces of a charm pack. I made this one a bit after we bought our new machine and I wanted to try out some embroidery on it too. The back has three snowflake designs embroidered on each side. It was a pain to get these just right because I had to measure out seams and draw a grid out that matched the front panel. In the end, the runner looks great and I am very proud of it.


 The next one I made was from the Ho Ho Ho Let it Snow charm pack. I took pictures to run you all through the process with me. The first step was to lay all of the squares out in a pattern that I liked. I group all of the squares by color and just started laying them down. Once they are all in their spot the sewing can start. The next step was to sew the squares together until you have 10 strips (2 strips of 2, 2 strips of 4, and 6 strips
of 5).
The strips then get sewn together. It seems like it would be tricky sewing these offset strips together, but this pattern makes it really easy. You just continue to sew into the single square and the stitches will be covered in a later step. I continued to sew all the strips together until the top of the runner was pieced and complete.


Here are the final products. I gave one to my mom and one to Ben's mom, but they decorated our home for a little while first. Using a different fabric family gave the second runner a totally different look than the first. I think the HoHoHo Let it Snow runner is much more playful and has more of a bright happy attitude.

To me the Winter's Lane runner envokes thoughts of winter itself. I see it and want a cup of hot chocolate and to sit by a fire. I do like them both and they both would have worked in different areas of our home but alas, they went to good homes and I am sure they are being loved there. I hope you're all having a wonderful holiday season! Until next time.
Subscribe to:
Posts (Atom)